Pressure Cooker Chicken Biryani Recipe with Video and step by step pics.
The holiday season is now officially on and you can smell the holiday spirit in the air… so what are the plans with you? planned fun-filled vacations? or how many parties you have planned? 🙂 Whatever your plans are, wishing you all a wonderful Holiday Season! We planned a small vacation with our friends and looking forward to it.
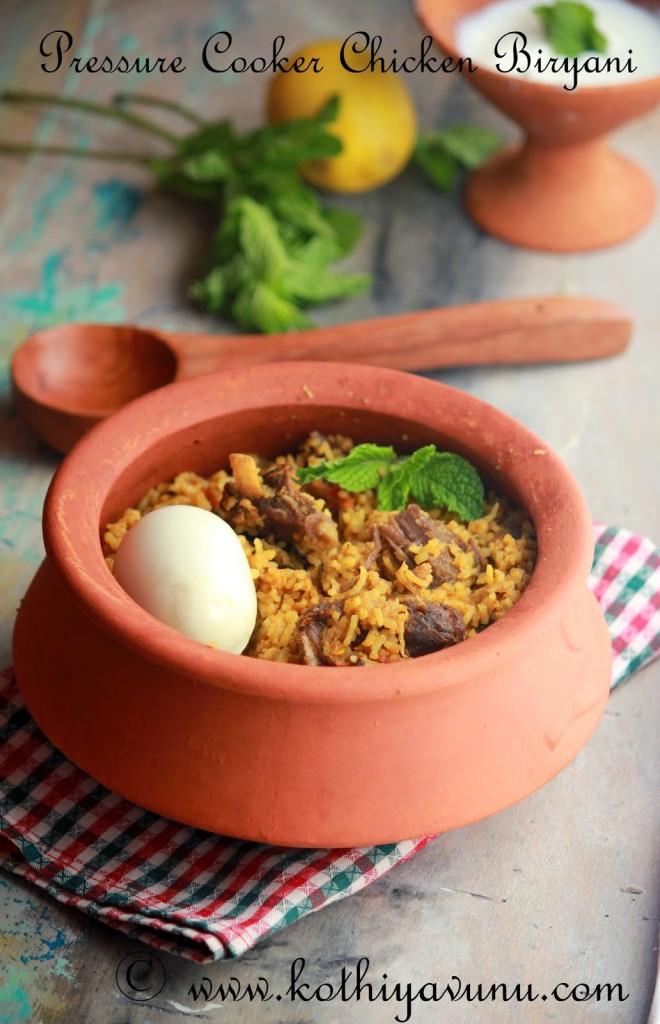
Well, talking about today’s recipe, this pressure cooker biryani recipe has been lying in my drafts for a while now. I didn’t like the pictures so I kept postponing the post, but a couple of days before one of the reader Ms.Kavitha Nair requested for the same and I couldn’t take new pictures of this, but I promised her to post it before Christmas and here it is finally.
Kavitha is a very loyal reader of this humble blog and she always encourages me a lot by sending the pics of what she tried and even she sends good recipes for me to try. Thanks, Kavitha! If you do have the picture of a recipe that you tried from here and I love to see that. Do send it to me and I will add it to the reader testimonials album !:-)
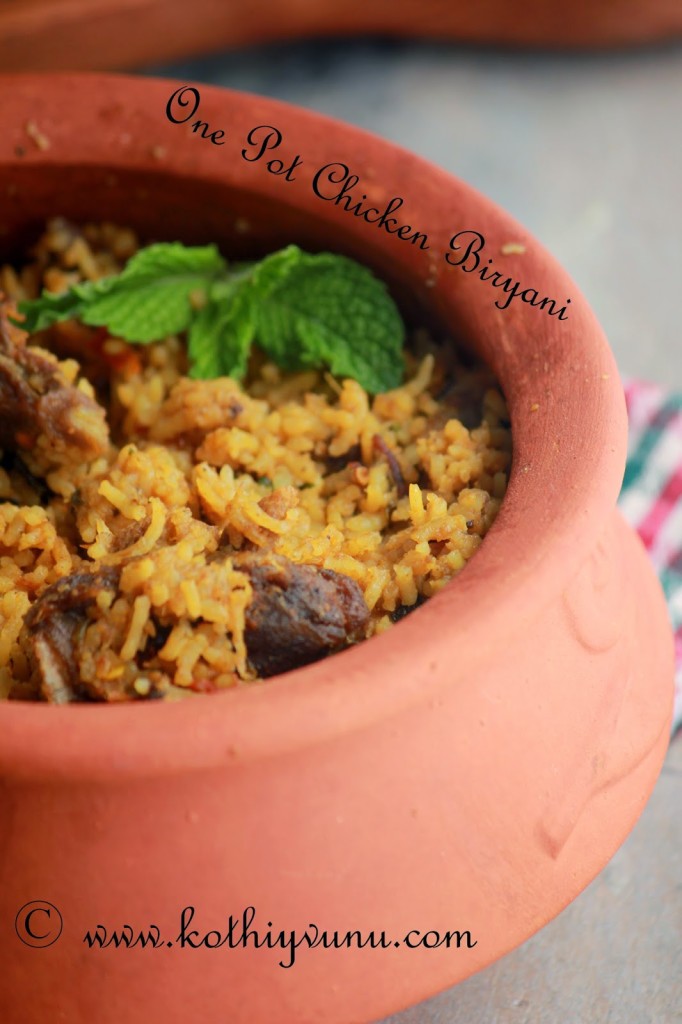
If you know my blog well, then you know I’m a great biryani fan. I love to try different versions. Yes, biryani is one dish one that takes quite a twist when it comes to a method for preparation. Everyone has secret ingredients and their own twits to bring out the best flavor and texture. Today I’m sharing pressure my version of making chicken biryani using a pressure cooker for Kavitha and for you all too.
Other recipes you might also like:
- Thalassery Mutton Biryani
- Homemade Biryani Masala
- Kerala Chilli Chicken
- Mushroom Biryani
- Chicken Ghee Roast
Pressure Cooker Chicken Biryani -Kerala Style Video :
Recipe Card for Pressure Cooker Chicken Biryani-One Pot Chicken Biryani
Pressure Cooker Chicken Biryani Recipe
Ingredients
For Marination :
- 1.2/1/2 kg lb/kg Chicken with Bones/Boneless
- 1 one 1″ piece Raw Papaya made into a paste
- 2 tbsp Thick Yogurt/Curd
- 1/2 tsp Green Chilly-Ginger-Garlic Paste:
- 1/4 tsp Turmeric Powder : 1/4 tsp
- 1 tsp Red chilli powder or to your spice level
- 1/2 tsp Black Pepper Powder
- 1/4 tsp Lemon Juice
- few Mint Leaves: finely chopped
- few Coriander Leaves finely chopped
- Salt to taste
For Rice :
- 2 cups Basmati Rice/Kaima/Jeerakasala
- 3 cups Hot Water If using Kaima/jeerakasala then 3-1/2 to 4 cups of hot water
For Seasoning :
- 4 Cloves
- 4 Cardamom
- 1 Bay leaves
- 1/2" stick Cinnamon Stick
- 1 small piece Mace
- 1 Star Anise
- 1 tsp Fennel Seeds:
For Chicken Malasa :
- 2 o4 4 large or medium Onion finely sliced
- 2 medium Tomato 1 tomato (finely chopped), and 1 boiled and pureed.
- 2-4 Green chilies or to your spice level (slit lengthwise)
- 2 tbsp Green chilli-Ginger Garlic Paste
- 2 tbps Thick Curd / Yogurt:
- 1/4 tsp Turmeric Powder
- 1 tsp Red Chilli Powder or to your spice level
- 1-1/2 tsp Homemade Biryani Masala or Garam Masala Powder:
- 1/2 tsp Black Pepper Powder freshly grounded
- 1 handful Coriander Leaves finely chopped
- 1 handful Mint Leaves finely chopped
- 2 tbsp Coconut Oil/ Cooking Oil
- 2 tbsp Ghee
- 1/4 tsp Lemon Juice
- 1/2 tsp Rose Water: Optional
- Salt to taste
To Garnish: (Optional)
- 1 medium Onion
- 1 handful Cashews
- 1 handful Raisins
Instructions
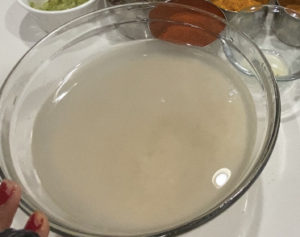
- Wash and soak the basmati rice for around 10-15 mins, then drain completely and set aside. (Note: Soaking time varies with the quality and brand of rice, if pressure cooking, soaking time should be very less.)
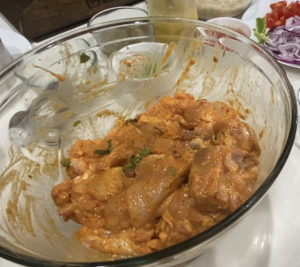
- In a bowl, add all the ingredients listed above ” For Marination” and allow the chicken to marinate for 1/2 to 1 hour.
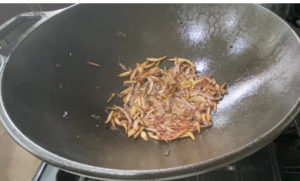
- Heat 2 tbsp ghee in another Pan/Kadai over medium heat, add the ingredients listed above “To Garnish” add cashews, raisins, sliced onion and fry till it turns brown in color (Note: This step is purely optional.)
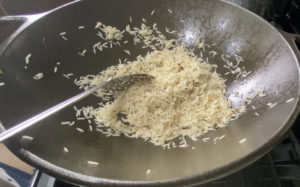
- On the same pan, add the ingredients listed above for "For Seasoning” saute until fragrant for a minute. (Note: Make sure not to burn the spices) now add the cleaned and drained basmati rice and fry for a couple of minutes.
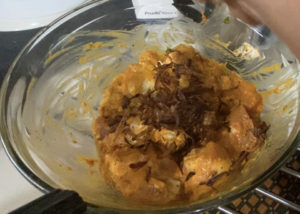
- Meanwhile, just add the little fried onion to marinated chicken and mix well. (Note: This is again an optional step)
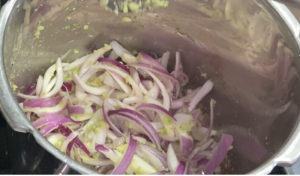
- Add green chili,ginger-garlic paste and saute for a minute till the raw smell goes now add sliced onion on a low heat and saute the onion till brown in color. (Note: Take care not to burn the onions)
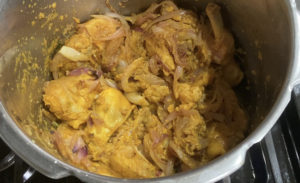
- Add the marinated chicken; saute and fry till the chicken pieces turn from pink to white color and it's cooked.
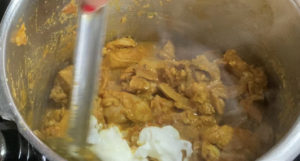
- Add 1 chopped tomatoes and mix well, add all spice powders. Combine well. Add in yogurt and mix well. Now add in the boiled and pureed tomatoes, green chilies and salt to taste, mix well; cook about 5 minutes.
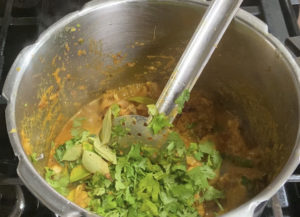
- Add freshly chopped mint and coriander leaves, add the lemon juice and combine well.
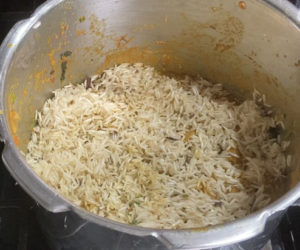
- Now add in the lightly fried basmati rice to on the top of chicken masala. Add 3 cups of hot water adjust the salt and mix well.
- Add 1/2 tsp rose water and mix gently. (Note: This is again purely optional)
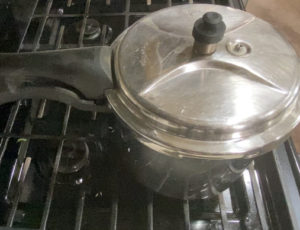
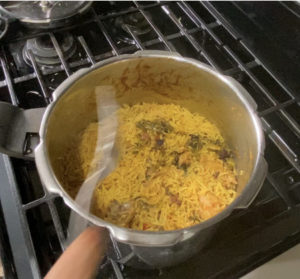
- Bring this mixture to a boil, cover with lid and pressure cook it for 1 whistle. After 1 whistle, immediately shift the pressure cooker from the hot burner, this reduces too much browning on the bottom of the pan. Allow to sit for 10 minutes and then open.
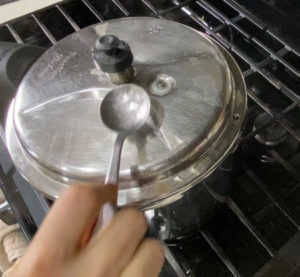
- Now within 5 mins, release the remaining steam/pressure completely; lifting the whistle by using spoon or cloth.
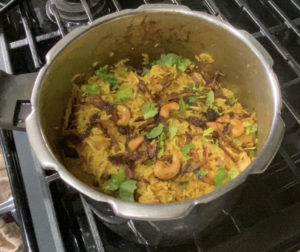
- Open the pressure cooker and allow to sit for another 10 mins. Don't stir when it's resting. After 10 mins gently fluff rice with a fork. (Note: Mixing while it's hot makes the rice break easily, so let it sit for 10 more minutes.)
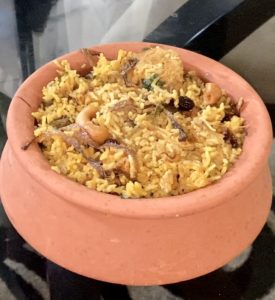
- Transfer the rice to a wide tray and gently spread to cool. Now add the 1 tbsp ghee on the top and garnish with sliced onion, cashews, raisins.
- Gently combine everything and Serve hot with Raita, Pickle, or Boiled egg and Pappadam on the side and Enjoy!
Notes
- Chicken may be substituted with mutton/lamb/goat or beef or pork as you wish, but make sure you pressure cook meat before, then add rice and water as needed.
- Keep in mind, pressure cooking time depends on the type of meat and pressure cooker you use. Good quality meat should cook in 1 whistle. If using matured meat like lamb allow 4 to 6 whistles while cooking the meat.
- Always sprinkle fried onions, coriander, and mint leaves, Optional- fried cashews and raisins as a final layer over the rice, which makes the biryani taste more flavorful.
Nutrition
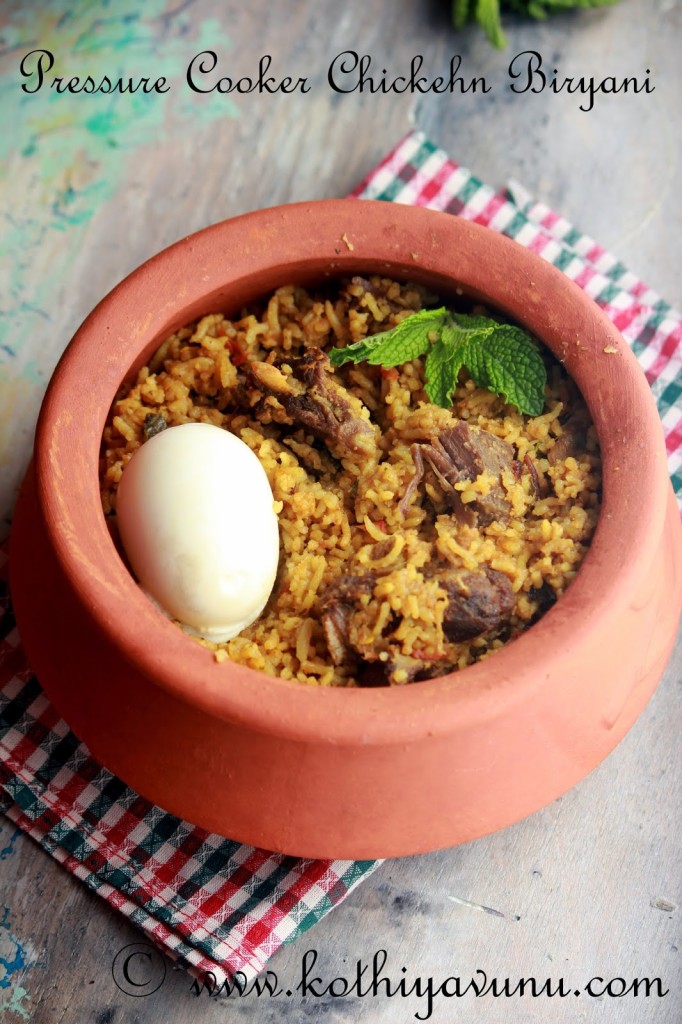
Hope you all will like this Pressure Cooker Chicken Biryani. Do give a shot and let me your thoughts! Enjoy!
Happy Cooking!







How long is a whistle?
Thanks Swarna!
Looks yummy..
Sorry to hear that it didn't come out as well as you expected.Better luck next time.
Didn't come out well
Thank you! Happy New Year to you as well.
looks so yum! Hungry now….
Happy New Year!
Thank you Manthopils 🙂
Thanks Shaami! I did visit your blog and you are doing a good job, Great going!
Cheers!
Sangeetha
Thank you Angie! Happy Holidays to you as well.
Thank you Rumana!
recipilicious
this recipe is 90% inspiration and 10% perspiration……keep posting
It looks yumm ! Wonderful blog u have. Will be happy if u visit my space.
This looks so delicious and loaded with flavours!
Happy Holidays!
Yummy briyani.. And live the clicks…