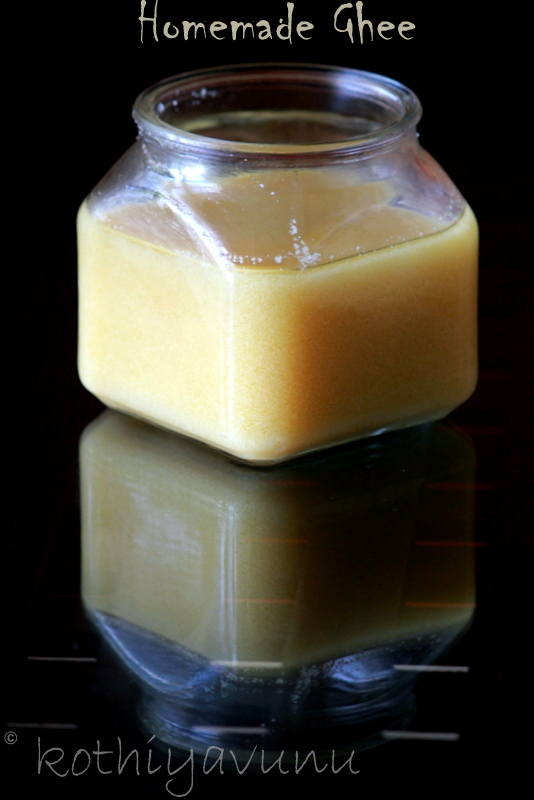
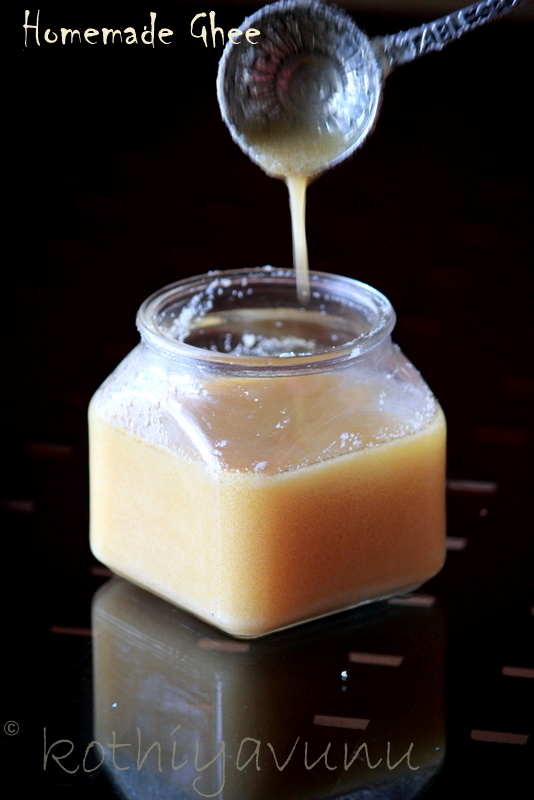
We use ghee frequently in our home because it is so remarkably versatile, and rich golden color with great aroma adds flavor and taste to the food. About the making ghee in home….let me share my experience 🙂
As we say practice makes perfect right? so i decided to try once again, So I told her that, Guess what! she immediately came over and helped me make it; that how I learned making of Ghee…from then, I never bought ghee from the stores, I always make them at home……So all credit goes to her and I am dedicating this post to my friend…’Suman’, hope you are reading this 🙂
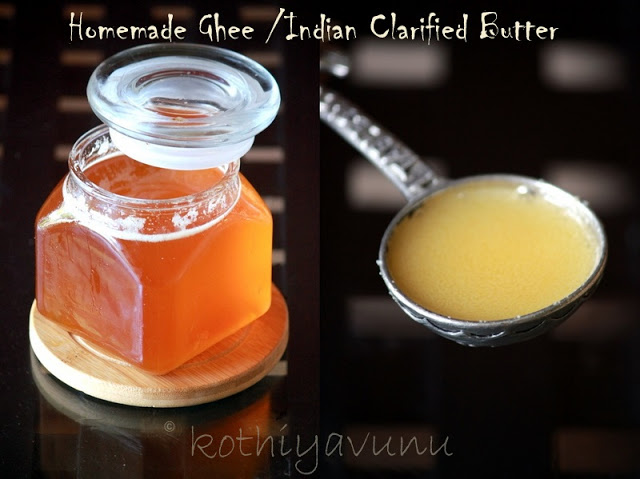
Ok stories apart, for all the newbies and for those who do not know what is Ghee? Ghee is a Indian clarified butter. Traditionally prepared by gently heating butter until it becomes clear golden liquid. The lactose and other milk solids coagulate and are meticulously removed. What’s left of the butter is a clear golden liquid, with the solids settled at the bottom. This liquid is ghee. According to the ancient Ayurveda, a moderate amount of ghee is the best cooking oil. Though it still has a high fat content, ghee’s many health benefits make it a fine alternative to butter or oil. To know more about ghee read here.
So what you waiting for friends, do give it a try and feel the aroma and freshness of homemade ghee, but of course first-timers you will need a little guidance 🙂
Ingredients :
Organic Unsalted Butter : 1 lb/ 450 grms
How to make Ghee – Nei/Ney – Indian Clarified Butter:
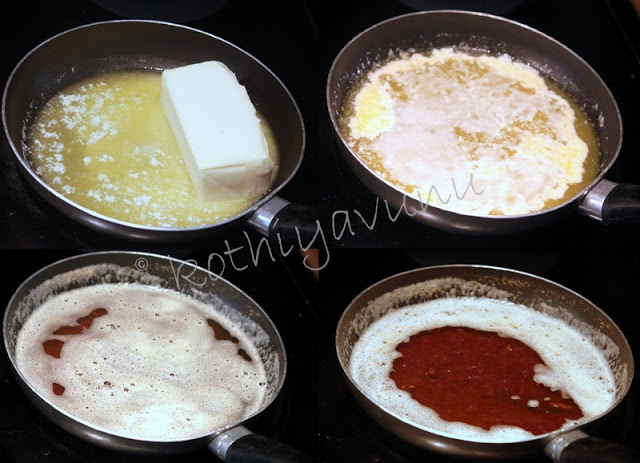
1. Place the butter in a heavy-bottomed pan or kadai and melt on medium-low heat, Don’t stir in between.
2. When the butter start to boil, scum of creamish white color will be formed on the top and the melted butter will be very opaque.
3. Let it boil, without stirring on low heat..slowly the scum will settle down at the bottom of the pan and the milky butter begins to look like clear.
4. The scum will become golden brown in color and you can see the clear ghee with a nice aroma. (Note : This takes approximately 30-45 minutes.)
5. When there’s a bit of brown sediment beginning to form at the bottom of the pan, the ghee is ready.
6. Be careful not to burn it during these final minutes of cooking. Remove the ghee from the heat and let it cool..
7. After its cool down, strain the ghee through strainer in a air tight container.You only want to get the golden liquid oil and not the sediment at the bottom of the pot.
8. Ghee will solidify when cooled, store closed; no need to refrigerate.
Notes :
- Do not fasten the process by increasing the heat, the ghee needs to be slowly cooked.
- Be sure to cool the ghee to room temperature before covering with airtight lid.
- Ghee that is well purified, filtered, and properly stored will last for 6 months to 1 year in or out of the refrigerator.
- Use only clean dry spoon to take out the ghee from the jar/bottle. Do not use wet spoon which adds moisture and that spoils the whole ghee.
Related Post :
Homemade Ginger Garlic Paste
Homemade Tomato Puree
Have a Good Day!
Sangeetha





Hi Jishna, Did you get a chance to try it?
Cheers!
Sangeetha
Hi…
I was looking for it solong..thanks
There's nothing like homemade ghee….nothing storebought smells the same. I can feel the glorious aroma that must have spread when the butter melted.Mmmmmm
a staple in my house too:)
i love that spoon..gorgeous it looks.i have to give a go at homemade ghee soon ..
very useful post with awesome clicks….
I can smell the lovely aroma of that home made ghee. Nice.
Lovely pictures.
Inviting you to participate in Cook Eat Delicious Desserts Event- Wholesome Desserts with no refined sugar or flours
Those pictures are really good !! Nicely explained.
Hey Sangii..ethu othiri helpful aanu ketto..njaum eghane try cheyyan thodaghi..chela doubts undayirunnu..eppo clear aayi..thanks alot da..